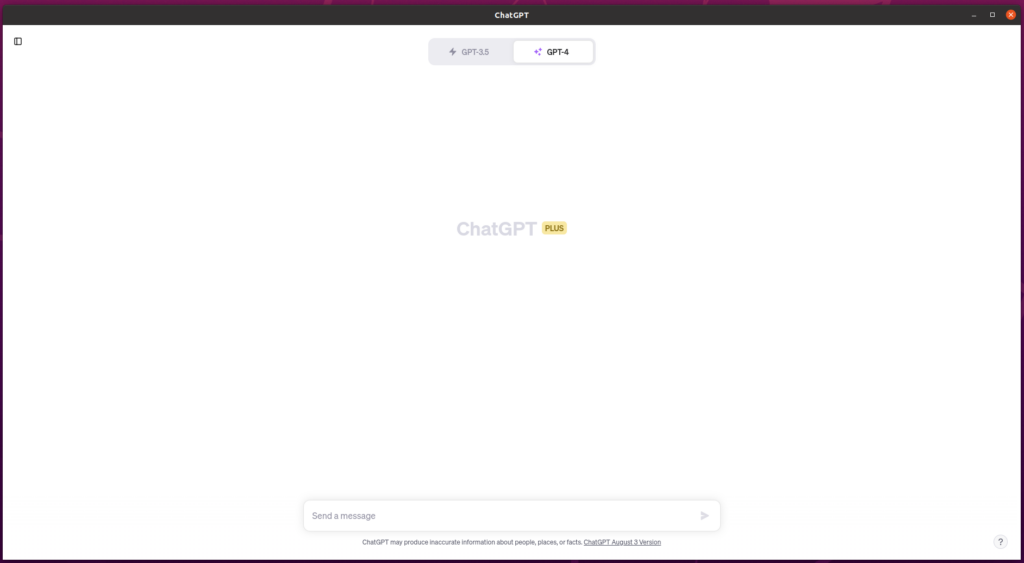
If you’re an Ubuntu user, this guide is for you. We’ll demonstrate how to run ChatGPT as a standalone app right from your Ubuntu desktop, requiring no additional installations. This process bypasses the need for bulky Electron-based desktop apps, which may not always provide the desired performance and can come with their own set of complications.
Utilizing the existing tools on your system, we’ll create a desktop application shortcut that launches ChatGPT in its own window, delivering a clean, focused, and immersive conversational AI experience.
What you’ll get

Prerequisites
Before proceeding, ensure that you have Chromium or Google Chrome installed on your machine. These browsers allow us to create an application window without the regular browser interface elements such as the address bar and bookmarks.
Step 1: Create a Launch Script
First, let’s create a script that will open ChatGPT in a Chromium or Google Chrome app window. This script will be used by the application launcher we’ll create later. Open a text editor and input the following command:
chromium-browser --profile-directory="Default" --app=https://chat.openai.comor if you’re using Google Chrome:
google-chrome --profile-directory="Default" --app=https://chat.openai.comSave this script as boot-chat.sh in your home directory. Replace “Default” with the name of your profile where you’re logged into chatgpt. If you don’t have multiple profiles, you can leave it as “default.” If you’re unsure what the system profile name is, you can find it by navigating to chrome://version in a new tab and take the value at the end of the “Profile Path” field.
Make the script executable by running the following command in your terminal:
chmod +x /home/ubuntu/boot-chat.shStep 2: Create a Desktop Entry
Desktop entries are the files that define how an application is launched and how it appears in menus. Create a new file named chatgpt.desktop and open it in a text editor. Input the following content:
[Desktop Entry]
Name=ChatGPT
Comment=Chat with OpenAI's language model
Exec=/path/to/your/boot-chat.sh
Icon=/path/to/your/icon.png
Terminal=false
Type=Application
Categories=AI;
StartupNotify=true
Keywords=AI;chat;OpenAI;GPT;language model;
In the Exec line, replace /path/to/your/boot-chat.sh with the actual path where you saved the boot-chat.sh file. In the Icon line, replace /path/to/your/icon.png with the actual path to the icon you want to use for this app.
The Terminal field is set to false, indicating that the application should not be run in a terminal. The Keywords field contains terms related to the application, which can be helpful when searching for the app.
After you’ve made the necessary changes, save and close the chatgpt.desktop file.
Step 3: Make the Desktop Entry File Executable and Move to Appropriate Directory
After creating the chatgpt.desktop file, make it executable by running the following command:
chmod +x ~/Desktop/chatgpt.desktopThen, move the file to either the /usr/share/applications or ~/.local/share/applications directory. The former location makes the launcher available to all users, while the latter makes it available only to the current user. Use one of these commands to move the file:
sudo mv ~/Desktop/chatgpt.desktop /usr/share/applicationsor
mv ~/Desktop/chatgpt.desktop ~/.local/share/applicationsStep 4: Add the Launcher to the Ubuntu Sidebar
Now, the ChatGPT app should be visible in your application overview. You can reach this by clicking the “Show Applications” button at the bottom of the Ubuntu sidebar or pressing the Super (Windows) key and typing the name of your application.
Locate the ChatGPT app in the application overview, right-click the application icon, and select “Add to Favorites” or “Lock to Launcher”. The ChatGPT app should now be pinned to your Ubuntu sidebar.

That’s it! You’ve successfully set up ChatGPT to run as a standalone app from your desktop without installing anything. Now you can enjoy conversing with ChatGPT directly from your desktop.
Leave a Reply
You must be logged in to post a comment.